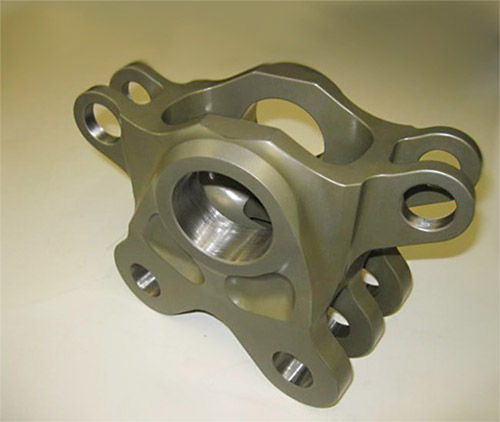
CT Hone, Inc. used its Sunnen honing machines & tooling to vertically hone multiple I.D. holes on a link assembly. The Flight Safety, titanium component, featured 4 different-sized holes and met tight tolerances of + .0005″. We achieved a microfinish of 63 and worked from a customer supplied operation sheet and 2D CAD drawing.
To learn more about this I.D. honing project, please see the details below. For more information about our other services, please contact CT Hone, Inc.
Titanium Link Assembly Project Highlights
- Product Name
-
I.D. Honing of a Titanium Link Assembly
- Product Description
-
We honed multiple holes on this link assembly for use in the aerospace industry.
This component is a Flight Safety Part.
- Capabilities Applied/Processes
-
Vertical I.D. Honing
- Equipment Used to Hone Part
-
Sunnen Honing Machines & Tooling
- Overall Part Dimensions
-
I.D. of Honed Holes:
- 1.0618″
- 1.2619″
- 1.3749″
- 2.6885″
- Tightest Tolerances
-
+ .0005″
- Material of Component
-
Titanium
- Maximum Material Finish
-
63 Microfinish
- In Process Testing/Inspection Performed
-
- Dimensional inspection with Sunnen gages
- Surface finish inspection with Bendix profilometer
- Industry for Use
-
Aerospace
- Standards Met
-
- Customer supplied operation sheet
- 2D CAD drawing & specifications

