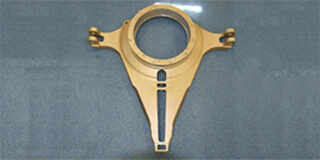
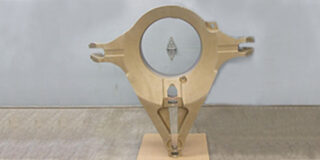
At CT Hone, Inc. one of our specialties is providing honing services for the aerospace industry. One of our clients approached us to vertical hone an aluminum swashplate, a component of a Flight Safety assembly. We honed four holes, each of a different size, all meeting extremely tight tolerances of + .0007″. We also removed .003″/.004″ of stock and as specified in the customer supplied operation sheet and 2D CAD drawing, to give the holes a material microfinish of 63.
To learn more about this I.D. honing project, please see the details below. For more information about our other services, please contact CT Hone, Inc.contact CT Hone, Inc.
Aluminum Assembly Project Highlights
- Product Name
-
I.D. Honing of a Stationary Assembly (Swashplate)
- Product Description
-
We had to hone this aluminum swashplate for the aerospace industry.
This component is a Flight Safety part.
- Capabilities Applied/Processes
-
Vertical I.D. Honing
- Equipment Used to Hone Part
-
Sunnen Honing Machines & Tooling
- Overall Part Dimensions
-
I.D. of Honed Holes:
- .6300″
- .6925″
- .7550″
- 1.0050″
- Tightest Tolerances
-
+ .0007″
- Material of Component
-
Aluminum
- Max Material Finish
-
63 Microfinish
- In Process Testing/Inspection Performed
-
- Dimensional inspection with Sunnen gages
- Surface finish inspection with Bendix profilometer
- Industry for Use
-
Aerospace
- Standards Met
-
- Customer supplied operation sheet
- 2D CAD drawing & specifications


